Showing posts with label street food. Show all posts

Saturday, 10 October 2015

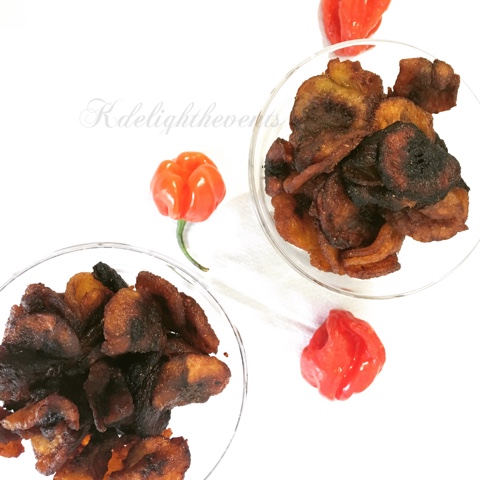
Spicy plantain chips (how to make plantain chips)


Ingredients
Ripen plantain
Blended dried peppers 
Salt to taste 
Oil to deep fry 

Step 1. Slice the plantain very thinly.. Season with the pepper and little salt. Leave for few mins to marinate....
 

Step 2. Heat up the deep fryer or frying pan with oil, spread the plantain out evenly then fry till brown in colour or to the colour you prefer.... 


Step 3. Strain out any excess oil by placing the plantain on a drying towel or kitchen paper. Pour back into the bowl, add in more pepper, toss properly to even out the pepper....


Finally serve with any drink of your choice, happy snacking 


Saturday, 3 October 2015

Dodo ikire (Nigeria spice plantain)


This is a spicy, savory and sweet treat as it combines the sweetness of very ripe plantains with pepper, onions and salt.
Unlike the popular Ghanaian kelewele which has seemingly similar ingredients, this is all mashed and mixed together before frying to create this dark sinfully delightful plantain treat.
Dodo ikire is named after the town of ikire where this traditional recipe originates from in Osun state.
Legend has it that it was created by a poor old woman who was so impoverished that she couldn't throw away the over ripe plantain she had left.

If you've ever travelled through there and neighboring towns and toll gates, you must have come across lots of street vendors and "hawkers" trying to sell you some.
It's a lovely treat worth trying if you haven't tasted it before. Your tastebuds would thank you!!!

Ingredients 
Very ripe plantain 
Small amount of onion
Fresh or dried crushed peppers
Salt to taste
Veg or palm oil (I preferred veg oil)

Step 1 chop up the plantain into smal cubes..  Add in the peppers, onion and little salt to taste


Step 2. Stir while gently mashing the plantain.. Don't over do it!!!. Leave for few mins to marinate


Step 3. Heat up the oil, when hot enough start dropping in the plantain in little ball shapes (they will come apart, so don't worry.. Because ones fried and alittle cooled, you can use you hands in shaping then together)... 


Step 4. The plantain will start turning brown, at this point keep an eye on them.. Otherwise they will burn. 


Finally... All ready for consumption, before I could say "Jack Robinson".. The kids are them all up.... #Smiling 


Tuesday, 4 August 2015

Homemade zesty sugarcane juice (sugarcane juice)


During my weekly shopping sometime last week, I spotted a market trader selling sugarcane!!!
Oh my! This ignited so many childhood memories and I just had to get some!
However, the only thing I disliked and still dislike about sugarcanes is having to chew to extract the juice as it gets quite stressful for my jaws! That's one chewing that can be quite a chore, tiring! 
Anyway,  being a #foodie, I thought to myself "why not extract the juice"... Nothing new about this but I hadn't tried it that way before!!!.. 
So guys, here's a peek at how I went about making it into a zesty drink.
Unfortunately the limes and lemons added are not pictured as I didn't really plan to document it on the blog.
If you are looking for a new refreshing taste this summer, this might just be your best bet!!!

Ingredients 
*Sugarcanes
*Lemons (I added 2 lemons to mine)
*Lime (and 1 lime)
*water (little at a time)

Equipment 
*Knife
*Food processor or mortar/pestle 
*Sieve
*Cotton flannel


Step 1... Peel using a knife, then cut into small chunks 


Step 2. Pour the chopped up sugarcane into the food processor, add in some water, lemon and lime juice, then blend (if required, add in little water)


Step 3. Place a sieve over a bowl, then place cotton flannel over it... 


Step 4. Pour the blended mix on the cotton flannel, 


Step 5... Squeeze generously to extract the juice... Then discard the remenat. Pour the juice in a bottle, then chill...(my recommendation consume within 24hr)


Here's my super refreshing and on point drink!


Saturday, 1 August 2015

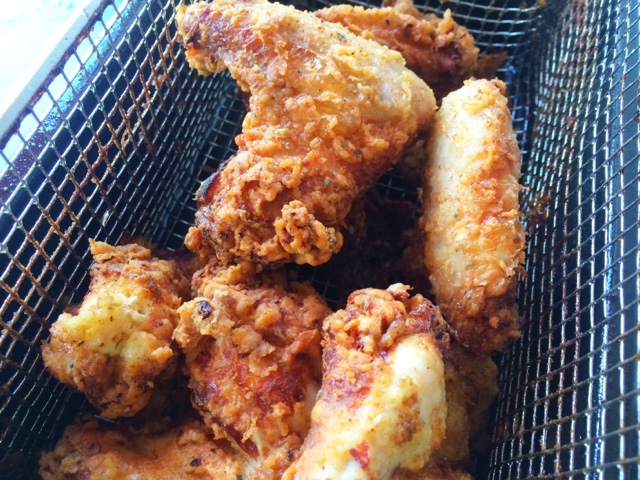
KFC style battered fried chicken (not KFC recipe)


How many parents don't sometimes feel they are spending too much for treats and eats from eateries world wide!!!
It dawned on me, I was spending too much money at my local KFC entertaining  the kids this summer holiday.. I said to myself, enough is enough "I had to do something".. 
Not having their pressure deep fryer or exact recipe didn't deter me, that even made me more determined so I went online to explore recipes then came up with these combination of spices.
It really came out well for me. The kids loved it and since every little helps, I've saved a bit of cash that I'm proud of!!!


Ingredients 

For the chicken 
*chicken stock cubes or powder
*milk or water
*salt 

For the batter 
*190g plain flour
*3tsp chilli 
*1tsp sage
*1tsp basil
*2tsp paprika 
*2tsp white or black pepper 
*1tsp coriander 
*1tsp powder garlic 
*1tsp powder ginger 
*1tsp powder oregano
*1tsp powder cardamom
*1tsp powder marjoram
*2 eggs 

****And oil to fry or oven to bake

Step 1. Pour the milk in a large bowl, add the chicken stock and salt.. Then stir properly 


Step 2. Pour the mix on the chicken, stir then cover with a cling film or bag.. Place in the fridge for atleast 6hours... ***make sure the milk is well seasoned, if using chicken legs or thighs make sure to poke them with a fork, so the seasoning can go through properly***


step 3. In a bowl, combine the flour with the 11 spices, then mix properly 


Step 4. Dip the chicken in the egg... This allows the spicy coating that's coming on next to stay on.


Step 5. Coat the chicken in the spicy flour mix.
*At this point switch on the deep fryer or oven 

Step 6. Start frying the chicken 
*quick tip: add some water into the fryer, little at a time and be extra careful with your hot oil to avoid burns.Doing this helps the chicken to cook through (remember KFC and other chicken restaurant use deep pressure fryer) so adding water to your oil, replicates the pressure fryer 


Step 7. Once completely fried, allow excess oil to drain 


My kids testified.. I was amazed at their  reaction. If the kids love it, adults will 100% love it. 


Saturday, 25 July 2015

Peppersoup yam pottage (Peppersoup asaro)

This great idea came from one of our group administrator Mr atta onoja, Instagram @lolos134. He prepared his by adding calabash nutmeg (ehuru), so I thought to my self why not go the whole 9yards???. Hence the out come of this great dish. 
It's a unique marriage of asaro, ukodo/yam peppersoup. 
You wanna have this on a cold day as its so good to your insides and the taste is just awesome.
 

Ingredients 

*Yam (dice and wash)
*Peppersoup spices 
*Stock cubes
*Onions
*Scotch bonnet 
*Tatashe (bell pepper)
*Shumbo (optional)
*Fresh or tinned mackerel) 
*Smoked prawns (cleaned and washed)
*Ugwu leaves (chopped and washed)
*Palm oil (optional, as I used sunflower oil from my tinned mackerel) 
*Water
*Crayfish 

Step 1. Start by blending the peppers and onion together, until almost very smooth, the pour into a pot. Allowing the mix to still till almost paste like. 


Step 2. Next add enough water to the steamed pepper mix, then add in the yam


Step 3. Next stock cubes


Step 4. Immediately add in the Peppersoup spices
 

Step 5. The smoked prawns and crayfish
 

Step 6. Add in the mackerel including the oil, if using tinned one.. Otherwise add in the palm oil (u only need little). At this point taste to ensure the pottage has enough seasoning, if required add more then allow the yam to cook till softened (ensure to keep close eyes on the pottage)


Step 7. When the yam softes add in the leaves.. 


Step 8. Gently break up some yams.. Using the edge of your spoon.. Allow few 2 more mins and it's ready... 


I do enjoyed this pottage... I cannot wait for my next cook, so excited 


Thursday, 18 June 2015

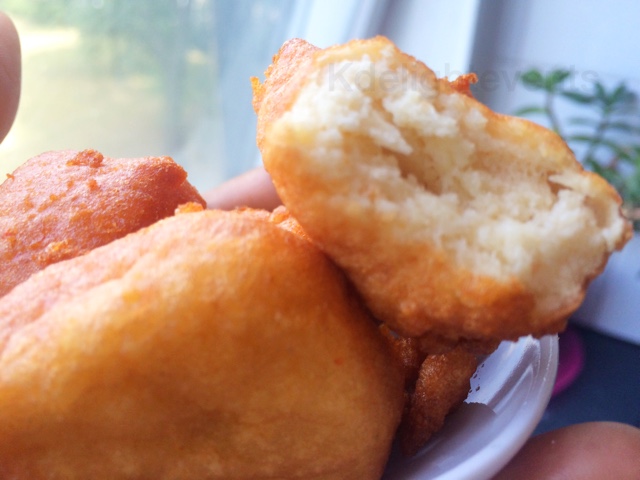
How to make akara (3 way version). Nigeria akara


*I used the same bean batter in making all 3 versions. For which ever option you prefer just use the same amount of ingredients (if baking *pre-heat your oven on gas Mark 4-5, then bake for 8-12mins depending on oven)

Ingredients 

*200g beans (pick dirts/stones and peel skin)
*1 scotch bonnet 
*1 medium size onions
*salt to taste 

Tool/Equipments

1. Cupcake maker and oil 
2. Frying pan or deep fryer and oil 
3. Oven and cupcakes cases 

Procedure 
Step 1. Start by washing/peeling the skin of the beans .. (Tip soak the beans in water for 4mins before proceeding to peel)


Step 2. Add water then blend till very smooth


Step 3. Add salt to taste.


Step 4. Whisk to incorporate air into the beans batter  (tip the more air the better, it helps to give the batter volume)


Option 1. Frying 


Heat up your deep fryer or frying pan with oil.. 
1. Gently start dropping the batter into the oil using the tips of your fingers 


2. Rotate the akara, so they don't only fry on one side 


3. Fry until golden brown and their are ready 


Option 2. Cupcake/popcske maker


1. Start by pre-heating the cupcake/cakepop maker, then rub in very little vegetable or olive oil. Pour in the beans batter, then cover the maker 


2. Roughly after 2 mins, turn the akara to the other side


3. But side are now ready.. 


Option 3. Oven bake 


1. Place cupcake cases into cupcake baking tin, then scoop beans batter into the cases. 


2. Place tray inside the oven and bake, till well baked *rougly 8-12mins depending on oven